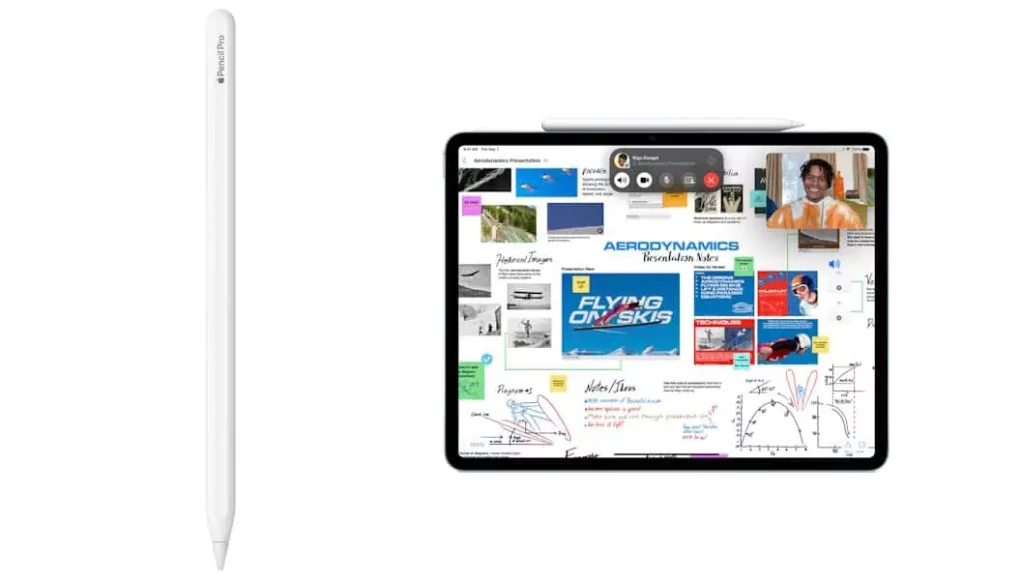
The Apple Pencil Pro is an indispensable tool for creatives, professionals, and students seeking precision and seamless control on their iPads. With cutting-edge features like squeeze gestures, haptic feedback, and hover support, it revolutionizes digital interaction. Whether you’re sketching, annotating, or navigating your device, this guide will walk you through setting up and making the most of your Apple Pencil Pro.
Getting Started with Apple Pencil Pro
Before exploring its powerful features, it’s essential to verify your iPad’s compatibility with the Apple Pencil Pro. Compatibility differs among iPad models, so make sure to check before purchasing. Once confirmed, follow these simple steps to pair and customize your Pencil.
Step 1: Pair and Charge Your Apple Pencil Pro
- Magnetically attach the Apple Pencil Pro to the side of your iPad.
- Wait for the pairing prompt to appear, then tap “Connect.”
- Charging starts automatically once paired.
This magnetic attachment not only ensures a secure connection but also supports wireless charging. To keep track of your Pencil’s battery level, add the Batteries widget to your iPad’s Today View.
Step 2: Customize Settings and Gestures
- Open the Settings app on your iPad.
- Select “Apple Pencil.”
- Customize features such as double-tap, squeeze gestures, and hover support.
The squeeze gesture provides quick access to the tool palette, letting you switch between brushes, pens, and erasers effortlessly. Hover support lets you preview strokes before applying them, providing enhanced precision in compatible drawing apps.
Step 3: Use the Tool Palette and Haptic Feedback
Apple Pencil Pro introduces haptic feedback, delivering subtle tactile responses when you switch tools or perform certain actions. This feature enhances control and makes digital drawing feel more natural. Access the tool palette by squeezing the Pencil or tapping the screen with the Pencil in supported apps.
Step 4: Maintain Your Apple Pencil Pro
To ensure optimal performance, regular maintenance is key. If the Pencil tip feels worn or less responsive, replace it by unscrewing the old tip and screwing in a new one securely. Be cautious not to over-tighten.
Step 5: Explore Supported Apps and Features
Apps like Notes, Freeform, and Procreate fully support the advanced features of the Apple Pencil Pro. You can effortlessly write, sketch, annotate PDFs, and even convert handwriting to typed text using Scribble. For a comprehensive overview, explore tutorials on how to use the Apple Pencil.
FAQ
Can I use the Apple Pencil Pro with older iPads?
- No, it is compatible only with select newer iPad models. Confirm compatibility before purchasing.
Does the Apple Pencil Pro support pressure sensitivity?
- Yes, it supports both pressure and tilt sensitivity for detailed and nuanced strokes.
What if I lose my Apple Pencil Pro?
- You can use the Find My app to locate it, provided it’s nearby and paired.
Are there cheaper alternatives?
- Yes, several alternatives offer basic stylus functionality at a lower cost, though they may lack advanced
features.
Final Thoughts on Using Apple Pencil Pro
Mastering the Apple Pencil Pro begins with understanding how to pair it, customize its gestures, and leverage its full suite of features. With proper setup and care, it transforms into an essential tool for digital creativity and productivity. Whether you’re sketching intricate designs or marking up documents, it offers a smooth and responsive experience. For more tips, explore in-depth guides on maximizing your Apple Pencil’s potential.


